C#: Building a reactive image button user control (TImageButton) for WinForms
By this point it’s no secret that I’m a prolific developer of user controls for WinForms.
One of my staples has been a PictureBox that changes the image when the mouse hovers-over and when it is clicked. I call it the TImageBox and there are likely a dozen versions of it dotted around my projects. I build this control to my immediate requirements. I haven’t had an opportunity to develop a more generic control to replace them all, until now.
After all the iterations, much to my surprise, I realised that this control isn’t actually a picture-box or a button. It’s actually a label.
So, let’s get it started.
1. There are four states
The control has four visual states, which should be familiar to any website user.
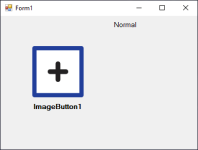
- Normal or idle, the way it looks without any interaction
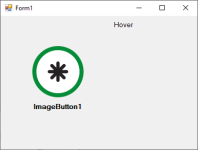
- Hover, when the mouse moves into its bounds
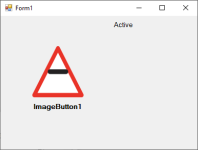
- Active or clicked, when the mouse is depressed within its bounds
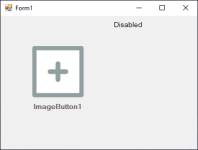
- Disabled, when the control is not enabled
2. There are two images
The original control had a single image but I eventually settled on a background-image and a foreground-image element. Both these images will react to a change in states. This will give the user maximum flexibility, for example, a fixed icon with a changing background. Either image can be disabled.
- Background Images, one for each state
- Foreground Images, one for each state
3. There is a label
In one of my later projects I needed a label to go underneath the TImageBox that would also trigger the hover and active states.
In this new control I’m integrating the label as an element of the TImageButton. The label can be above, below, left and right of centre with a fixed distance away from the centre. This will allow you to have labels positioned consistently across a row of image-buttons.
I decided that the label colour would be the same except for when it’s in the disabled-state.
- Colour, for normal, hover and active states
- Disabled Colour, for the disabled-state/li>
4. Preparation for the demo
I’m using a bunch of graphics to show what the control is capable of. Needless to say that I don’t expect you to go so whacky.

5. The demo
I put together a demonstration of the TImageButton in action, as below.
Well, that’s that.
I hope someone finds this interesting or useful.
Social Media
Categories
Tags
Post Information
Posted on Wed 23rd Dec 2020
Modified on Fri 4th Aug 2023


